Bot Framework SDK で開発したボットを Teams で動かすところまで
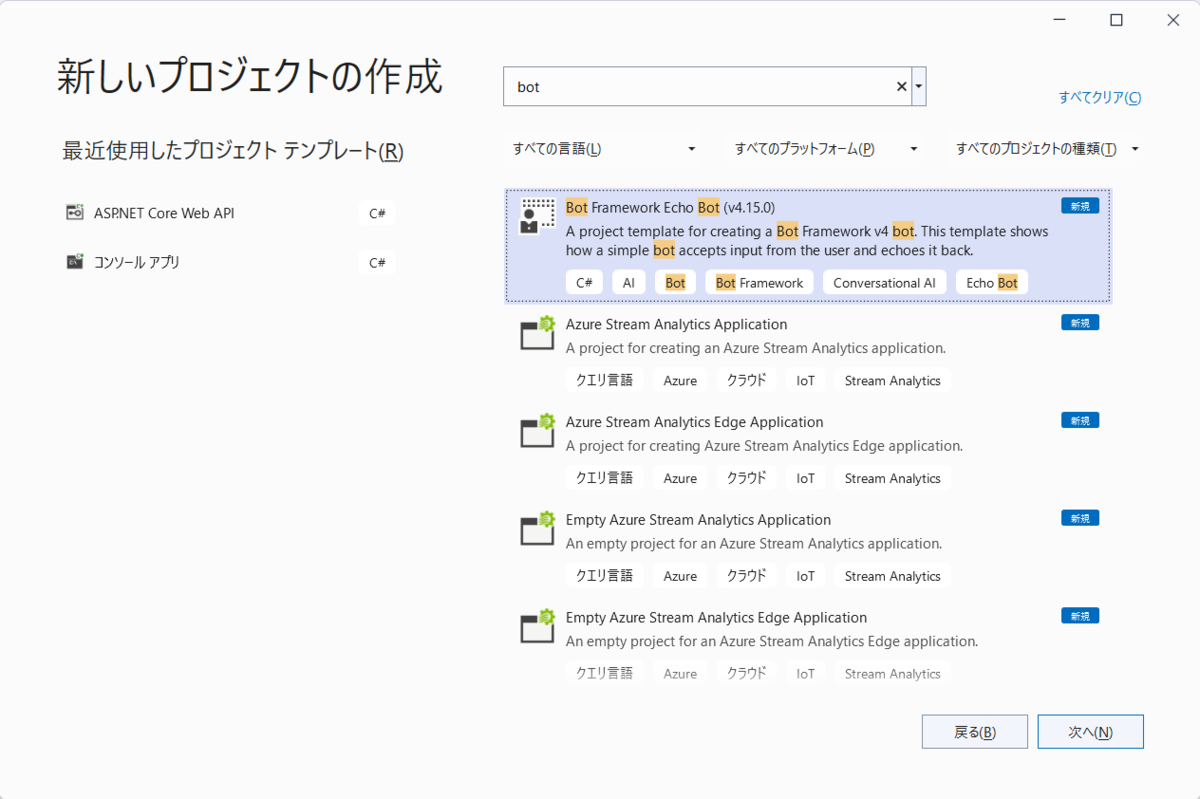
プロジェクトの作成


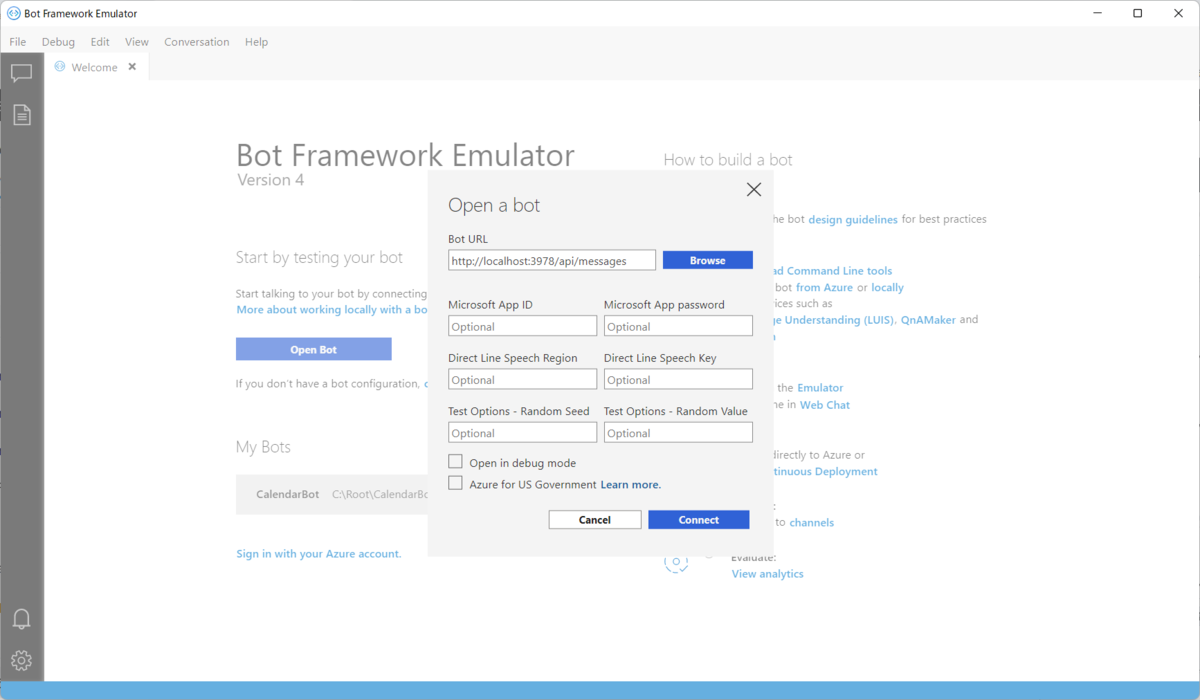
Bot Framework Emulator で動作確認
Visual Studio でデバッグ実行しておく。
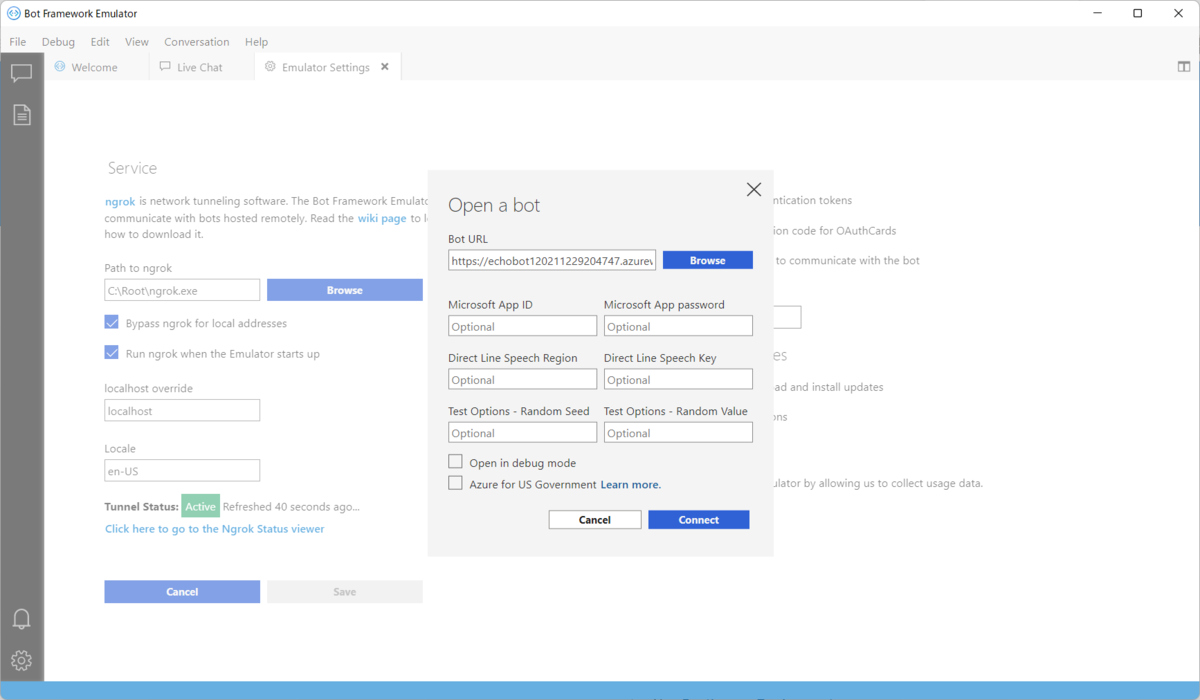
Bot Framework Emulator を起動して [File] -[Open Bot] を開く。
[Bot URL] に http://localhost:3978/api/messages と入力して [Connect] をクリックする。
動作確認。

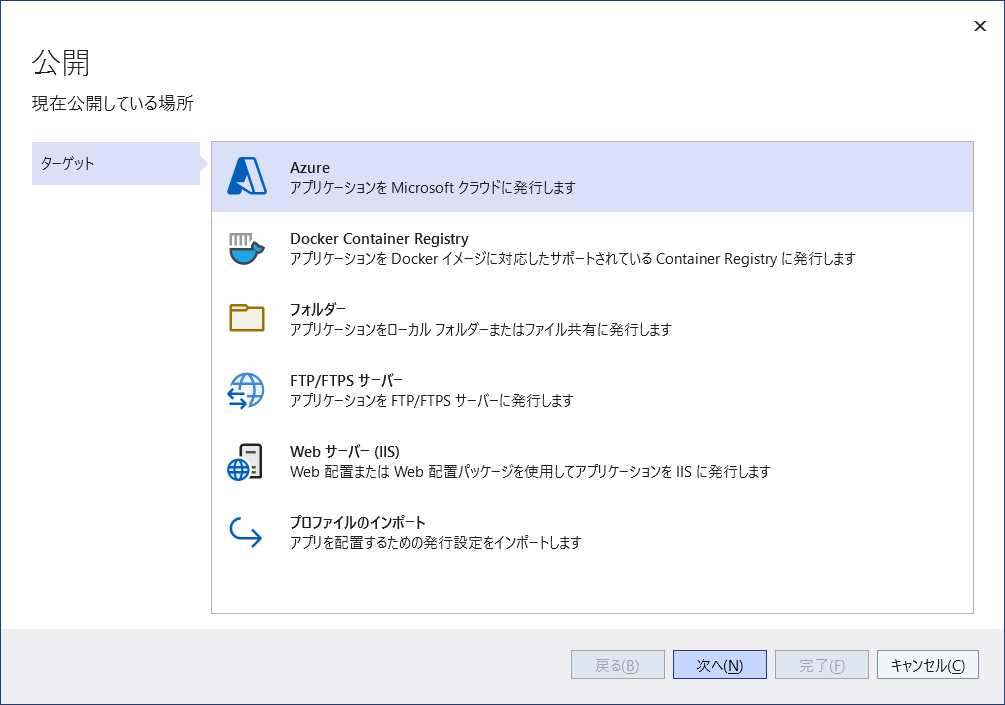
Bot を Azure にデプロイする
Visual Studio から発行する。
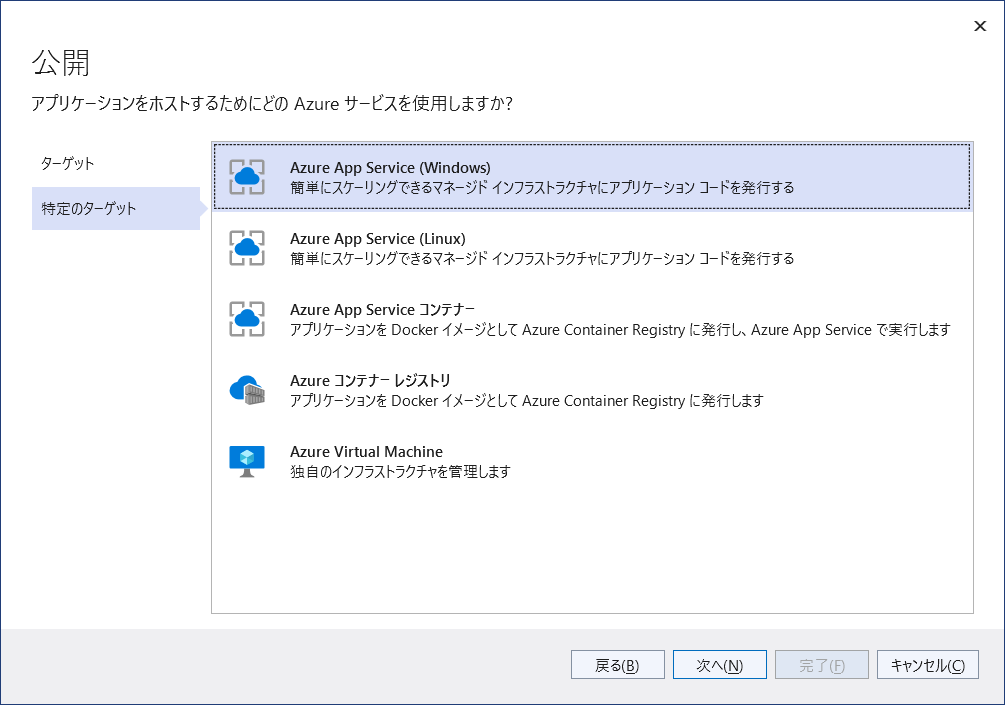
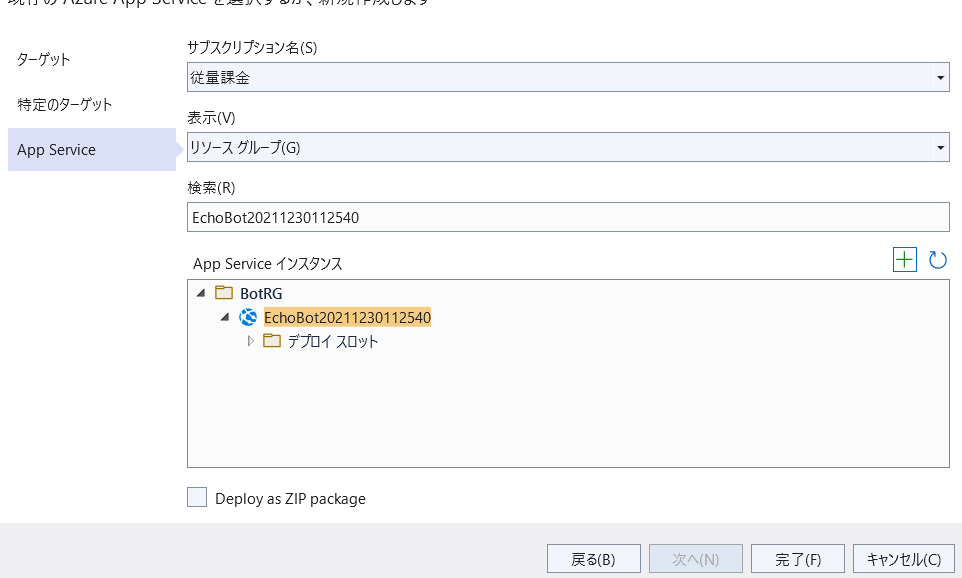
プロファイルを作成したら発行する。
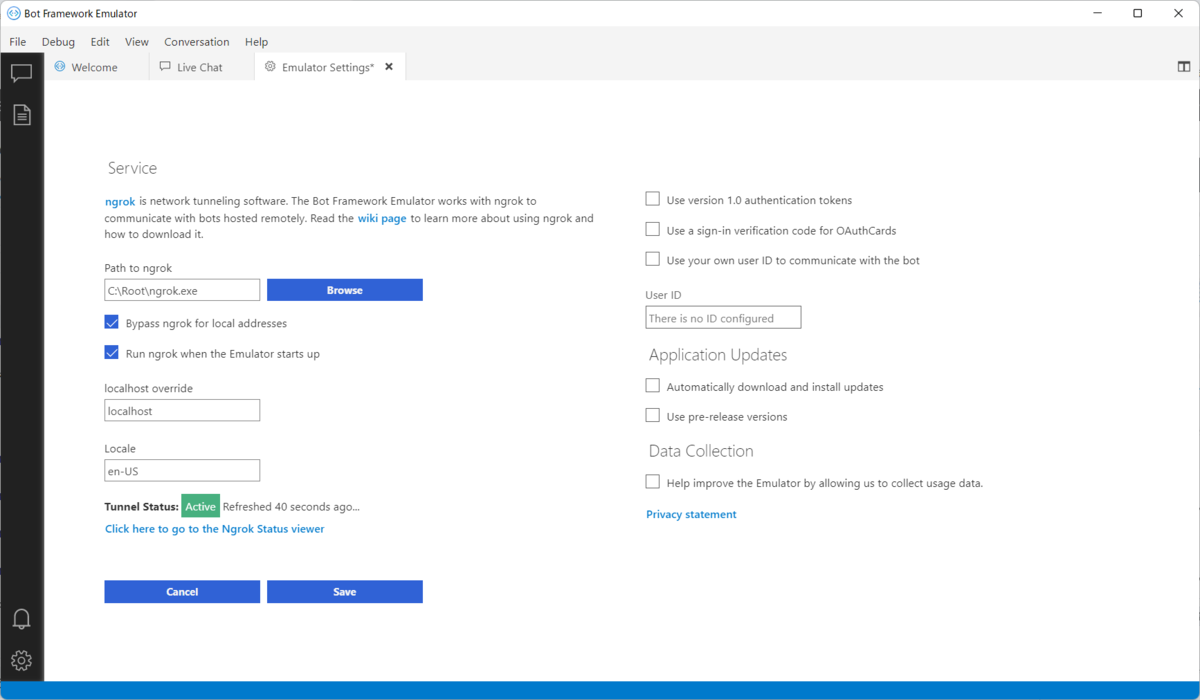
Bot Framework Emulator で動作確認
Bot Framework Emulator で ngrok のパスを指定する。
Bot URL に http://{Azure Web App の URL}/api/messages と入力して [Connect] をクリックする。
動作確認。

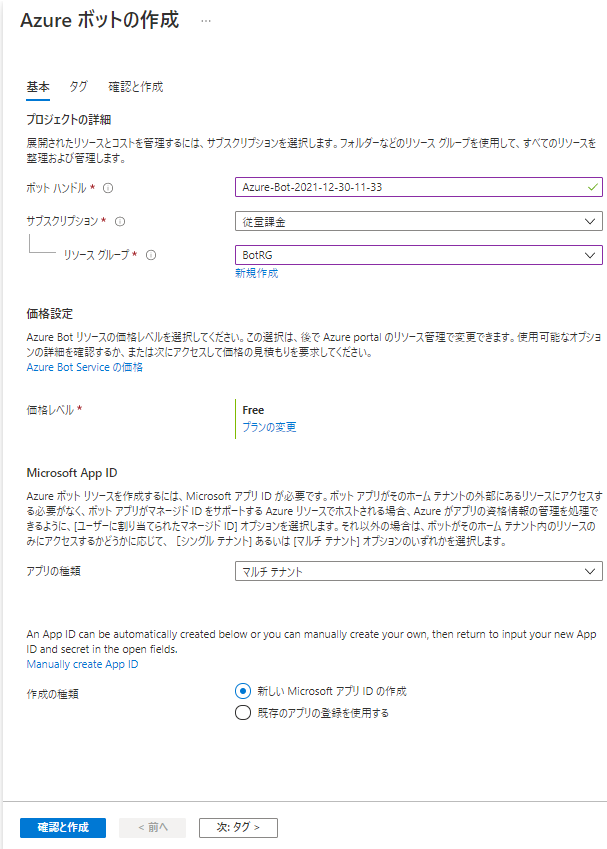
Azure Bot の作成
Key Vault にクライアントシークレットが格納されているので見に行く(本当は Web App からマネージド ID で見に行くのがいいのだろうな)
Web App の Application 設定に MicrosoftAppId / MicrosoftAppPassword / MicrosoftAppTenantId を設定する。
Azure Bot のメッセージングエンドポイントに http://{Azure Web App の URL}/api/messages を設定する。
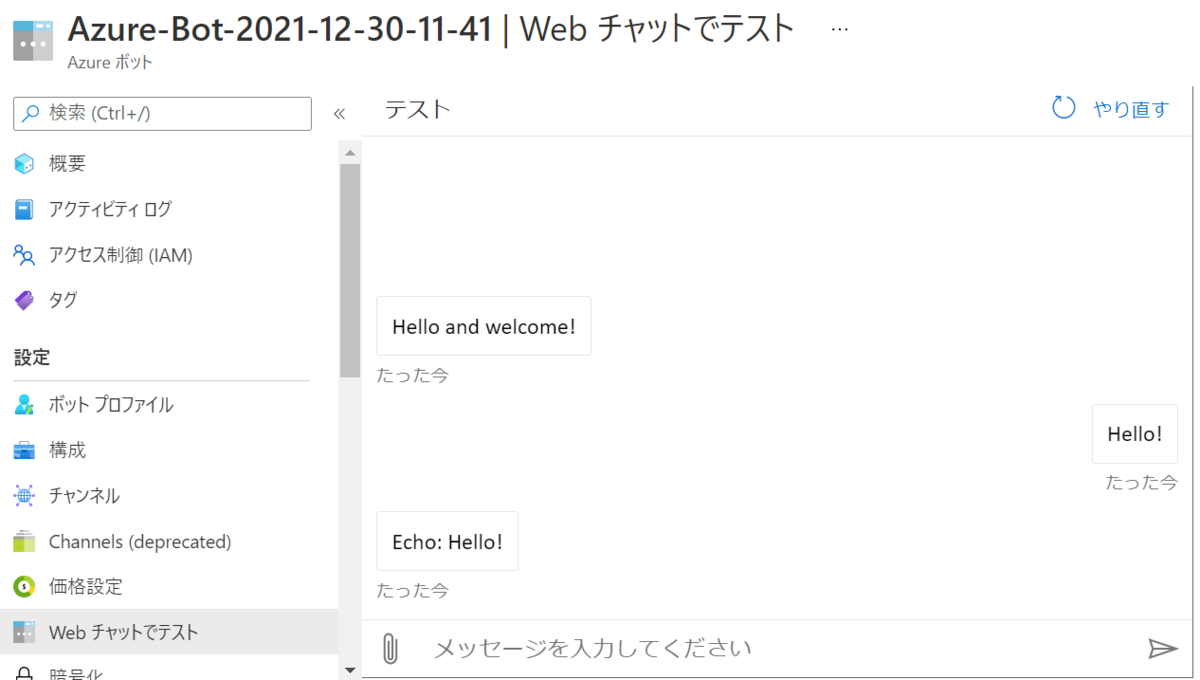
「Web チャットでテスト」で動作確認。
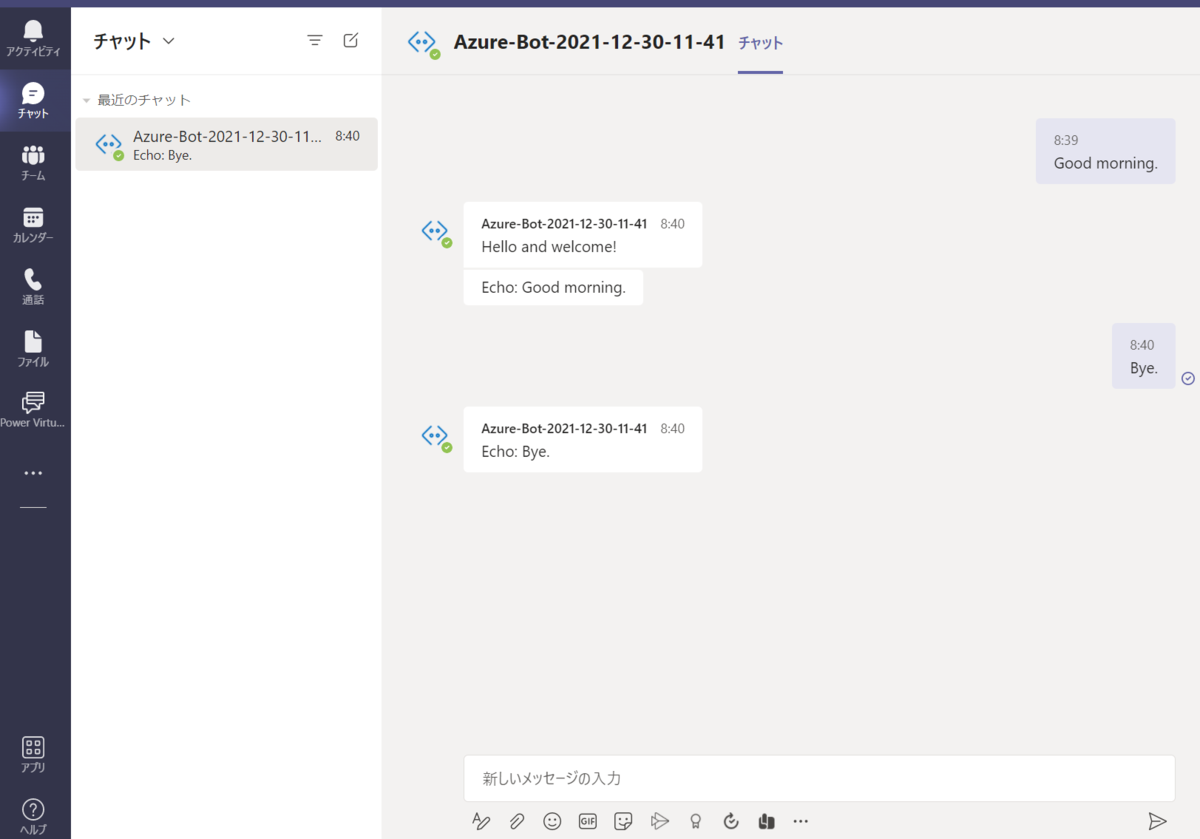
Teams チャネル追加
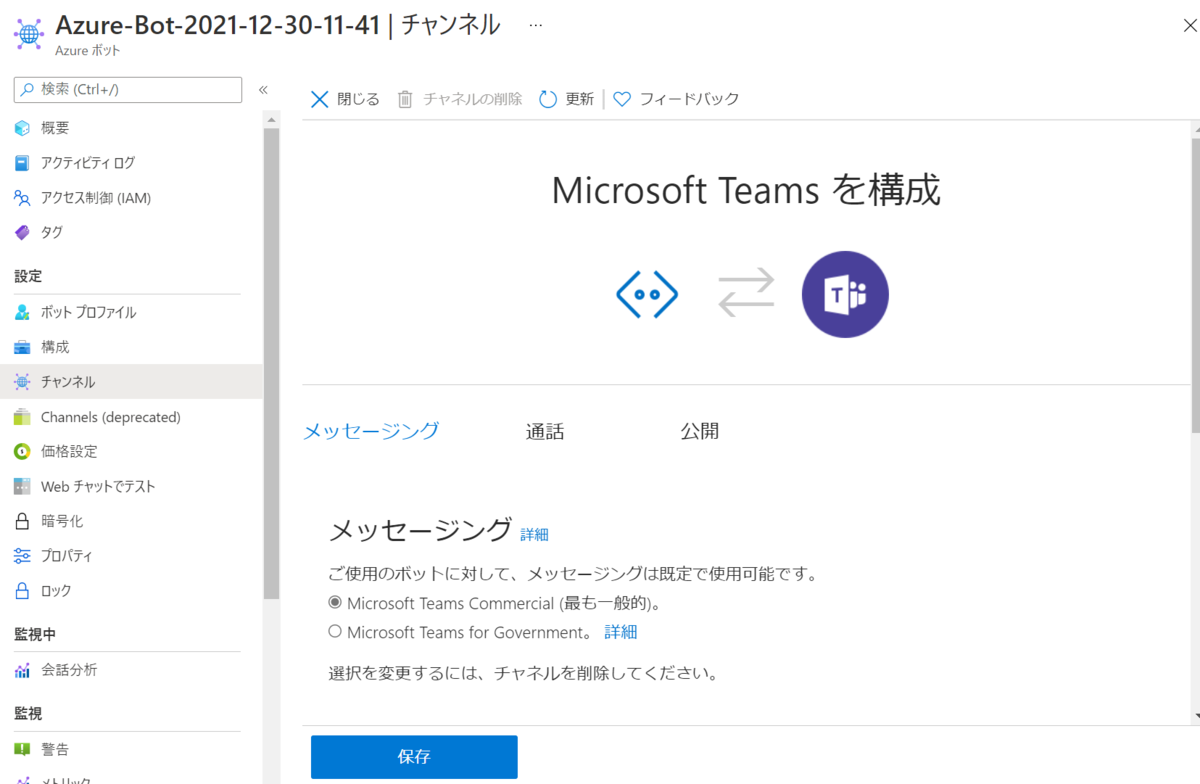
「Open in Teams」をクリック。
アプリパッケージ作成
manifest.json
id と botId にアプリケーション ID を入力。
{
  "$schema": "https://developer.microsoft.com/json-schemas/teams/v1.11/MicrosoftTeams.schema.json",
  "manifestVersion": "1.11",
  "version": "1.0.0",
  "id": "Micrsoft_APP_ID",
  "packageName": "com.example.mysamplebot",
  "developer": {
    "name": "The Developer",
    "websiteUrl": "https://example.com/",
    "privacyUrl": "https://example.com/privacy",
    "termsOfUseUrl": "https://example.com/app-tos"
  },
  "name": {
    "short": "EchoBot",
    "full": "Echo-Bot"
  },
  "description": {
    "short": "Echo Bot.",
    "full": "This is the Echo Bot."
  },
  "icons": {
    "outline": "icon32x32.png",
    "color": "icon192x192.png"
  },
  "accentColor": "#ff0000",
  "bots": [
    {
      "botId": "Microsft_APP_ID",
      "needsChannelSelector": false,
      "isNotificationOnly": false,
      "scopes": [
        "personal",
        "team",
        "groupchat"
      ],
      "supportsFiles": false,
      "commandLists": []
    }
  ]
}
アイコン
192 x 192 と 32 x 32 の PNG ファイルを用意する。manifest.json でファイル名を指定する。
圧縮
マニフェストファイルとアイコン2つを ZIP で固める。
アプリアップロード(サイドローディング)
Teams 管理センター の「Teams のアプリ」-「セットアップポリシー」から「カスタムアプリをアップロード」をオンにする。

Teams クライアントを開いて「アプリ」-「アプリを管理」-「カスタムアプリをアップロード」をクリック。アプリパッケージの ZIP ファイルを選択して追加する。
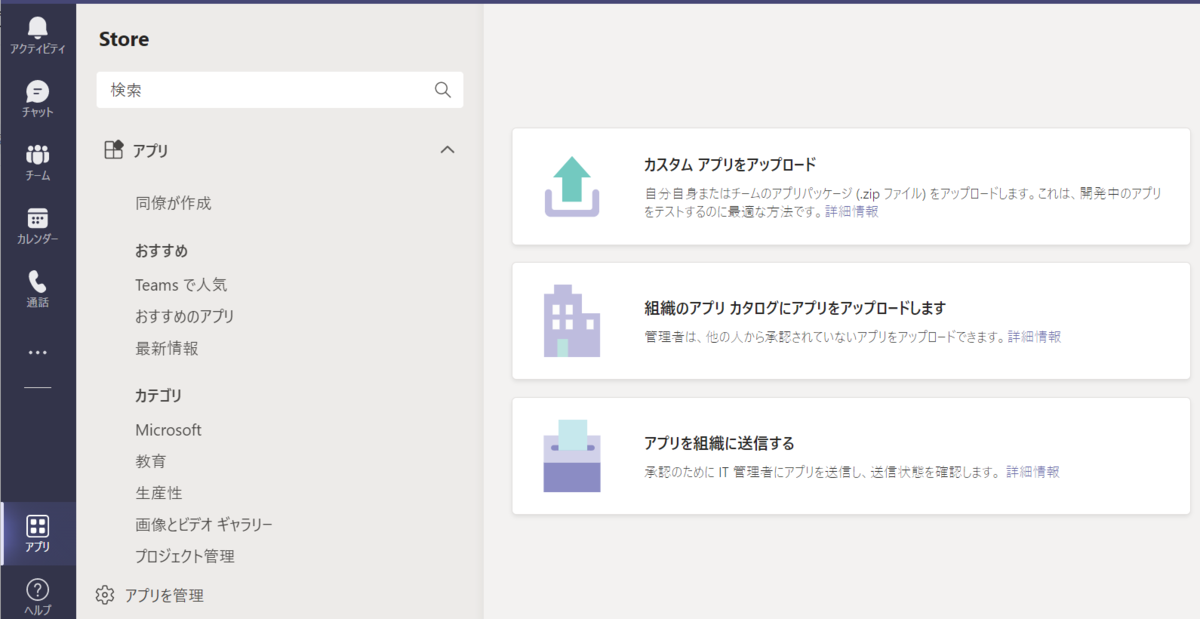
アプリアップロード(組織のアプリカタログ)
Teams クライアントを開いて「アプリ」-「アプリを管理」-「組織のアプリカタログにアプリをアップロードします」をクリック。アプリパッケージの ZIP ファイルを選択して追加する。
「アプリ」-「組織向けに開発」にアプリが表示される。
